I then ran over to a party store and bought printed tissue napkins in new designs....and I got sick of them after only a few napkins were used.
I'd love to find another artist/crafter who uses printed tissue papers so we could trade (anyone out there in Tampa?) but until that happens, I had to find a solution that would not keep costing money only to end up in a drawer after a few uses.
The answer was to start printing my own.
I googled how and found many sites that explain the process. It varies by printer. For my printer, all it required was cutting a piece of tissue paper slightly larger than a regular piece of paper (8 1/2 x 11") which is called the "carrier sheet," wrapping and then taping the tissue paper onto the carrier sheet, and sending it through my printer. I used a piece of cardstock as my carrier because it was stiffer and that made it easier to tape the tissue paper to it. Works beautifully. Google how to print on tissue paper and your printer and you'll find directions.
 |
| I taped a piece of tissue paper to a piece of blue cardstock. That's all it takes. |
Finding the images to put on the tissue paper took more work.
For the type of tissue paper I wanted, you need photo editing software (Photoshop, PaintShop Pro, etc.) or go to one of the free, online, graphics programs that are out there nowadays.
I've used clipart, I've printed my own text, I've used digital scrapbook templates, brushes from my graphic programs, scans of things I own, etc. There is no limit to what you can use. I like to combine things....a layer of text over a layer of images. Most graphic programs have effects that will combine, mirror, and rotate your images which will give you even more options. You can then change the color of the image as a whole or just part of it. You can print in black and white or full color. You can change the size of everything to be just what you want.
Here's a few I've done..
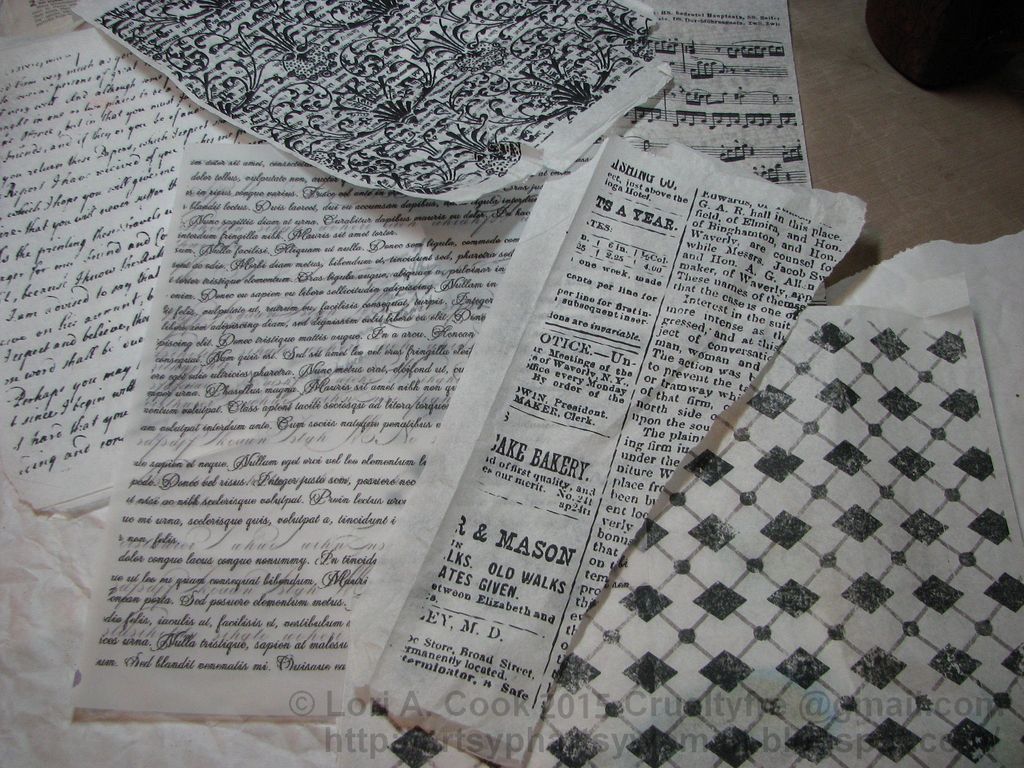 |
| These were my first attempts, simple, basic, and printed with black ink. |
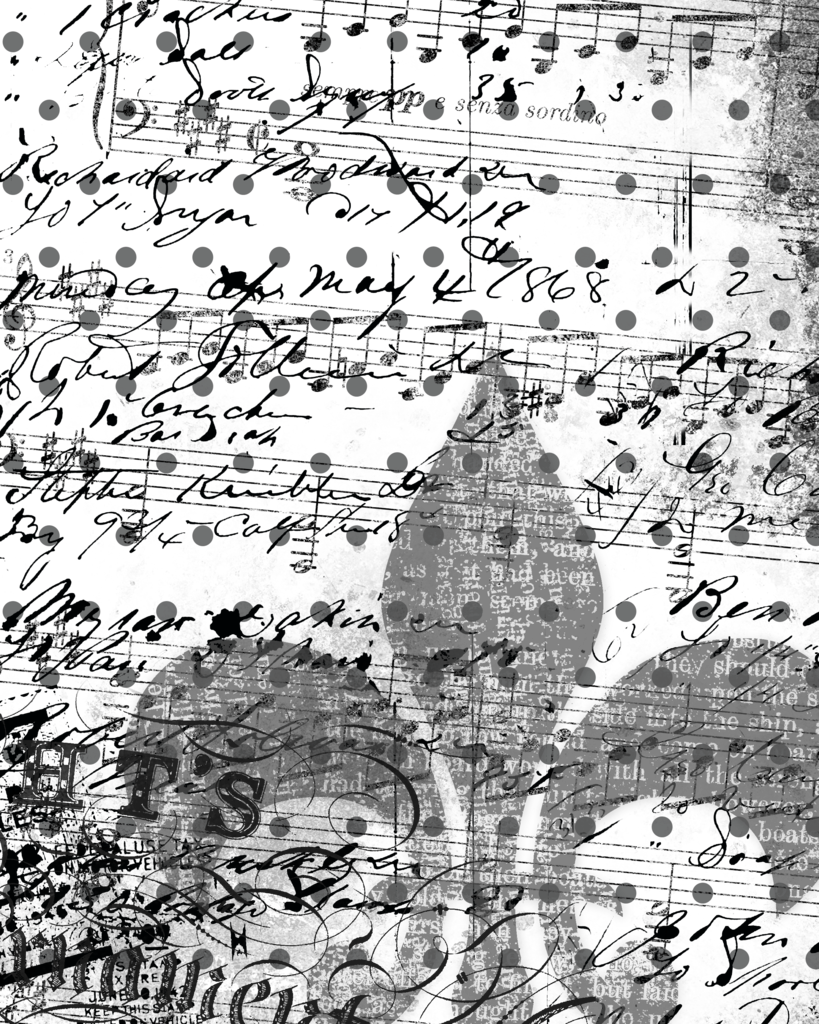 |
| Then I started layering images...a layer of text over a layer of music and a fleur de lis. |
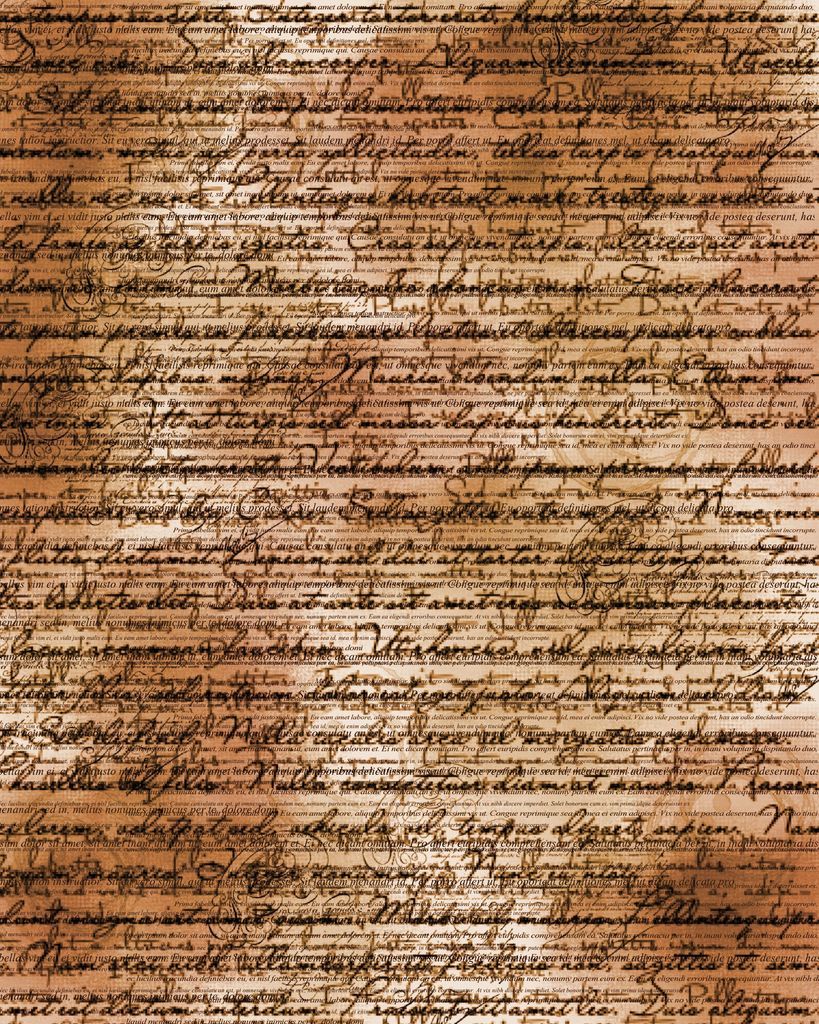 | |
| Then I started to get fancy. I added layers of text and a sepia tone. |
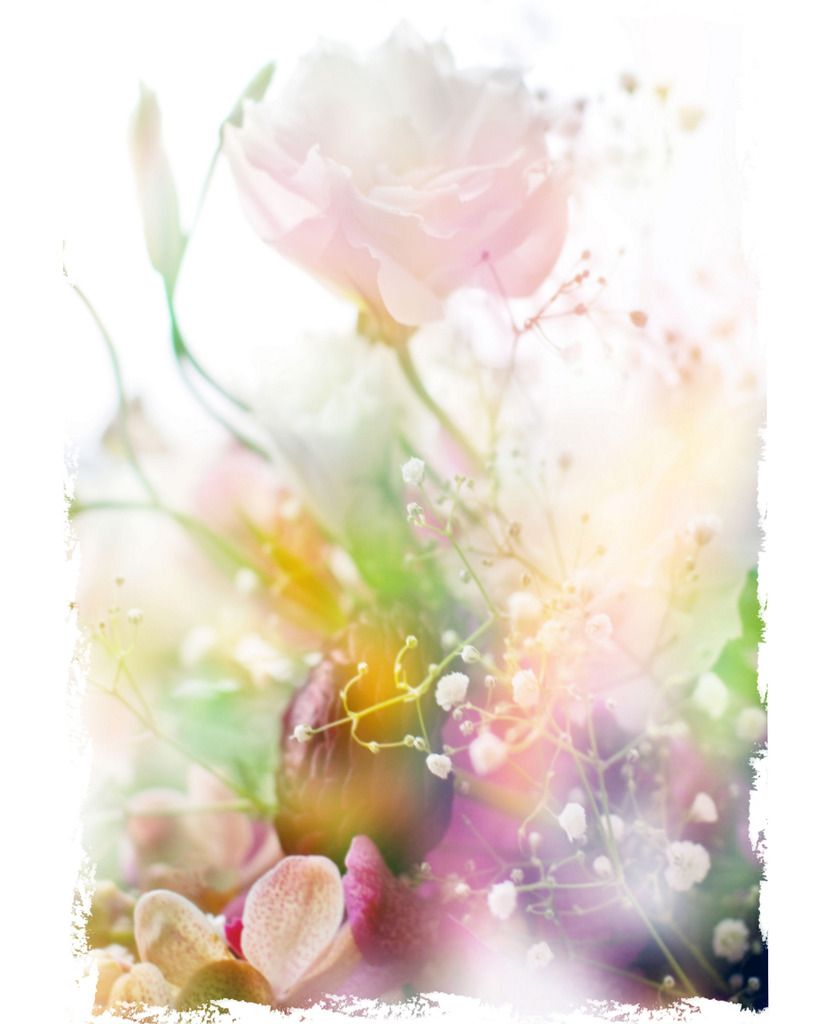 | |
| Soon I started printing images in full color. |
No matter what type of collage I'm working on now, I can have custom made tissue papers for it. I save my digital collages now so just in case I do want to use them again, I've got them (that's what I'm showing you here is my files).
Now here's some resources and tips for making your own...
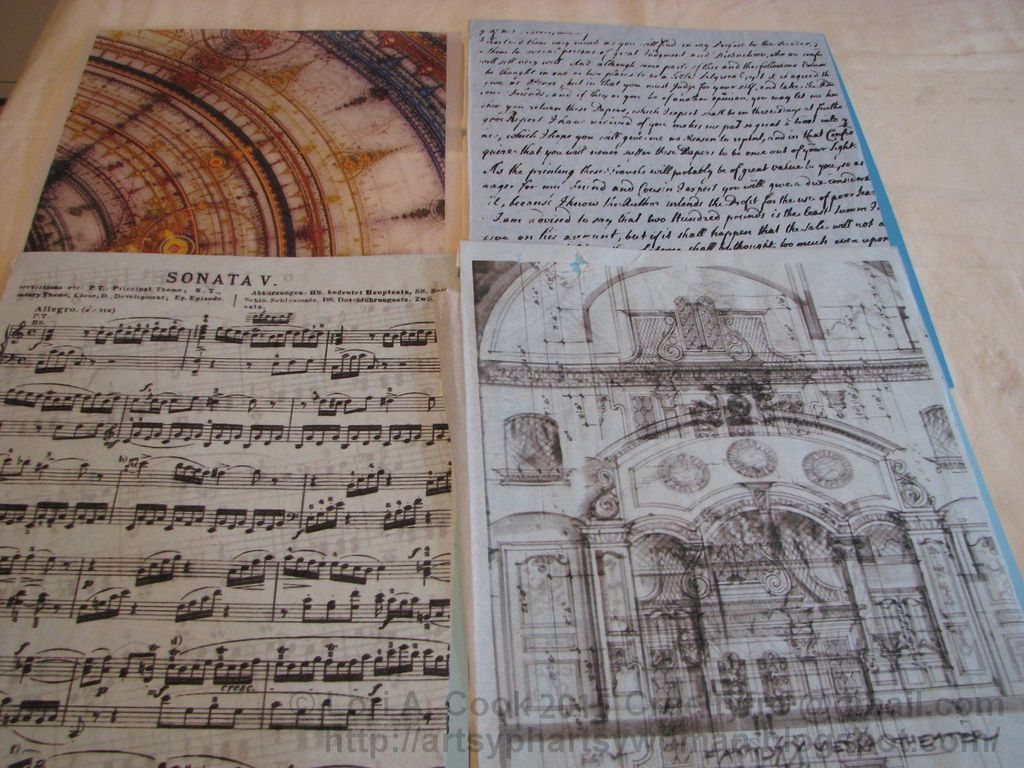
Lorem Ipsum Oh, how I love Lorem Ipsum. It's a text generator. It gives you paragraphs of text in any language! Want some French text to add to your images? This is where you get it. Ditto Vietnamese or Danish or Russian. You pick a language, tell it how many paragraphs to generate and voila! Then copy it off of the page and paste it into your image and print. So simple.
 |
| I was doing an Asian piece so made this digital collage. Printed it out, ripped it into pieces and used it in the collage. |
Digital scrapbook overlays and "color yourself" images are perfect for turning into tissue paper prints. They're usually greyscale so you can recolor them any color you want. You can resize them to make the images as big or little as you want. I use them constantly. And almost every digital scrapbook company has freebies. There's tons of sites, here's one, Best Free Digital Scrapbook, but there are tons more. Just google something like "free scrapbook papers" or such. Remember, look at the designs more than the colors as you can change the color of anything prior to printing.
Google Images. No matter what type of image you want to put in your collage you can now. Google whatever you're looking for and then click the "images" option and you'll get pages and pages of images of it. Make sure to add the word "free" in your search and watch out for copyright and royalties. I've used images individually and then layered them with other things like in this one..
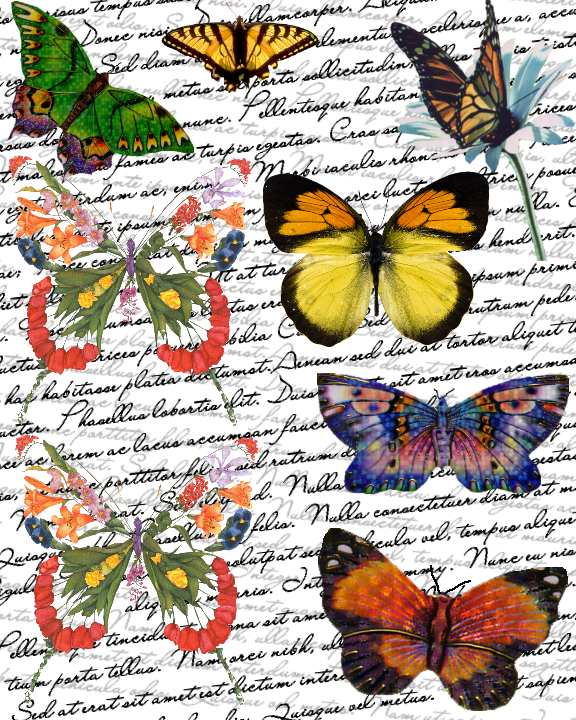 | |
| Clipart butterflies layered over lorem ipsum text in French. I don't use the whole page as is, I tear it into smaller pieces so in use it's prettier then it is as this file. |
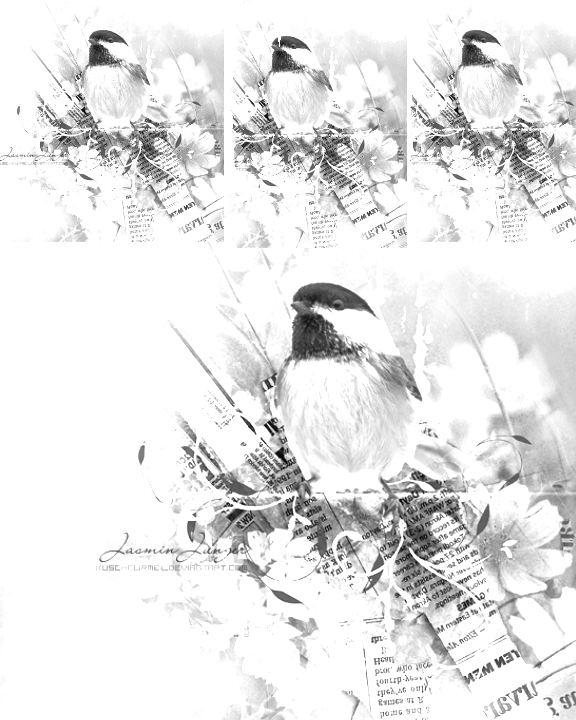 | ||
| I made multiple copies of this bird, in different sizes, all on one sheet of tissue paper. |
Hi! I thought I posted a comment to this a couple of days ago, but I'm not seeing it. Mystery, hmmm. What a great idea, thanks so much. I'm going to check this out, when I have a few free moments. Google "free collage sheets", and Google will return sites from free sheets, dollar sheets to four dollar or more sheets. There is some great stuff out there. Thanks for the Lorem Ipsum info; it's an amazing site.
ReplyDelete