 | |
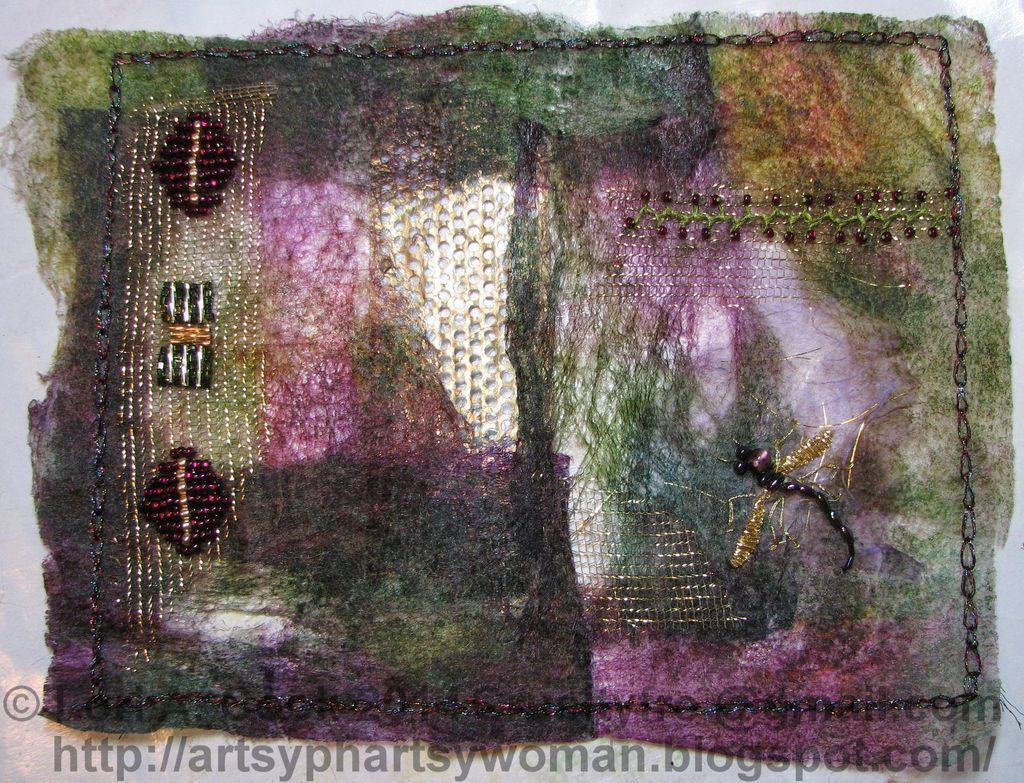
| Dryer Sheet collage with beading, embroidery and stumpwork Dragonfly. (My photography skills are horrible but I hope you can get the idea.) |
Many times I've looked at one of my collages and thought about adding beading or hand embroidery accents (two passions from my past). I tried on a couple occasions but getting a needle through all the layers of paper and glue was really tough and I'd end up with a very sore fingertip from trying to push the needle through the layers. Even if I succeeded a time or two, when I'd pull the thread through the holes it would just cut and tear the papers and the collage would rip so I gave up the idea of adding beads or threadwork to my collages.
One day I found Kristen Watts Mixed Media Dryer Sheet Tutorial and I tried it. She uses dryer sheets as the base for a collage and glues papers on top of them. I made one as she instructs and it turned out fine. But I must admit, I didn't really understand why you needed a base from a dryer sheet...I've always just glued my papers together, with either no base (just overlapping the papers) or paper as the base.
The technique was soon forgotten. The dryer sheets I had collected to try her technique sat crumpled on my worktable. One day I grabbed some and used them to sop up some extra Dylusions overspray on my craft mat. A couple days later, I went to move those dyed dryer sheets and I started wondering would a dryer sheet hold up to the needle holes, thread and beads?
Turns out, the answer is no. Not as is anyway. It's not strong enough to withstand the holes, thread, and beads. It rips and tears.
But the idea persisted so I started to experiment. After a few wrong turns, I got it and it's now my newest passion...dryer sheet collages embellished with beads and embroidery. (What's got me even more excited is that I can flop on the sofa or in bed and embellish these collages while watching tv...sooo much better than always being confined to the work table.)
Here's how...
Start with a dryer sheet that's already been through the dryer as this makes them more airy and wispy.
 |
| wrinkled and used is just fine, they resemble handmade mulberry type papers |
1. Add color to it. I've tried many ways...sopping up overspray, spraying directly with spray inks/dyes, painting with acrylics, etc. You can spray multiple colors and let them run together. I've sprinkled mica powder on them and mixed mica into the paints/dyes. I've rubbed Inka Gold colors on them...everything I've tried works and it's a blast. I've even ironed on painted Wonder Under (Bondaweb). My favorite way is to spray directly with things like Colorwash, Dylusions or homemade sprays made from food coloring. Spray dyes/inks preserve the airy, transparency of the sheets, while acrylic paint makes them stiffer and more solid in color, but both have a place in my collages.
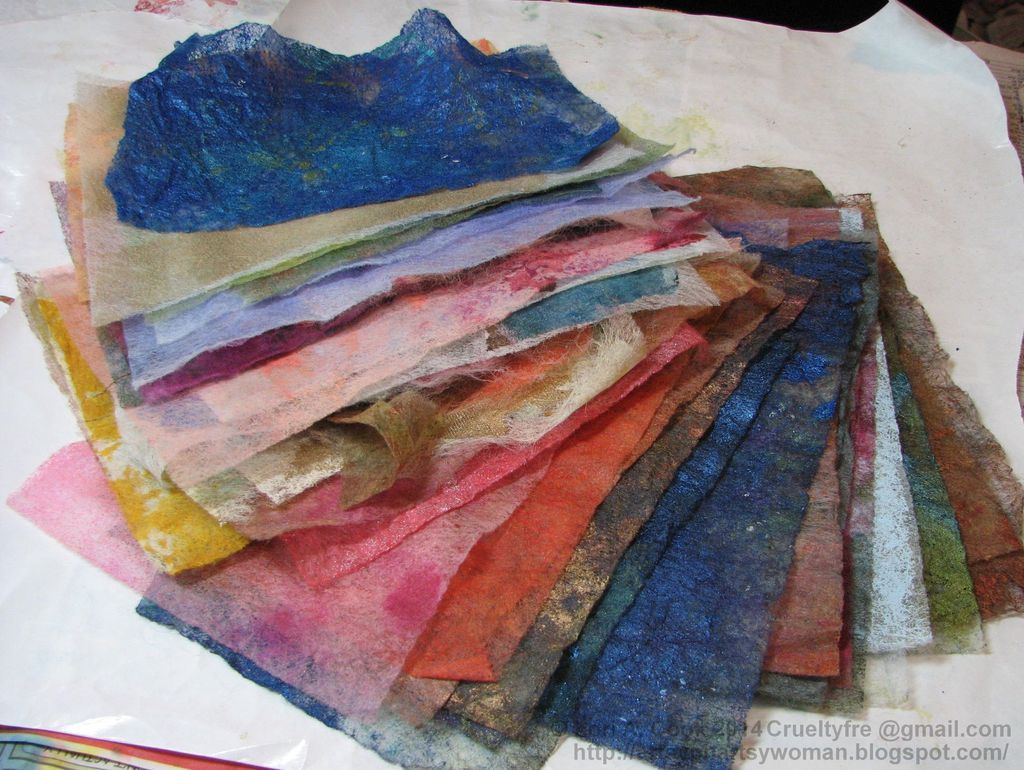 |
| my stash of colored dryer sheets |
2. Let them dry or the next step will be horrible as the colors/paint runs.
3. Put down a piece of freezer paper, shiny side up. Take your dried, colored, dryer sheets, either whole or ripped into pieces, and lay them out the way you want your collage to be.
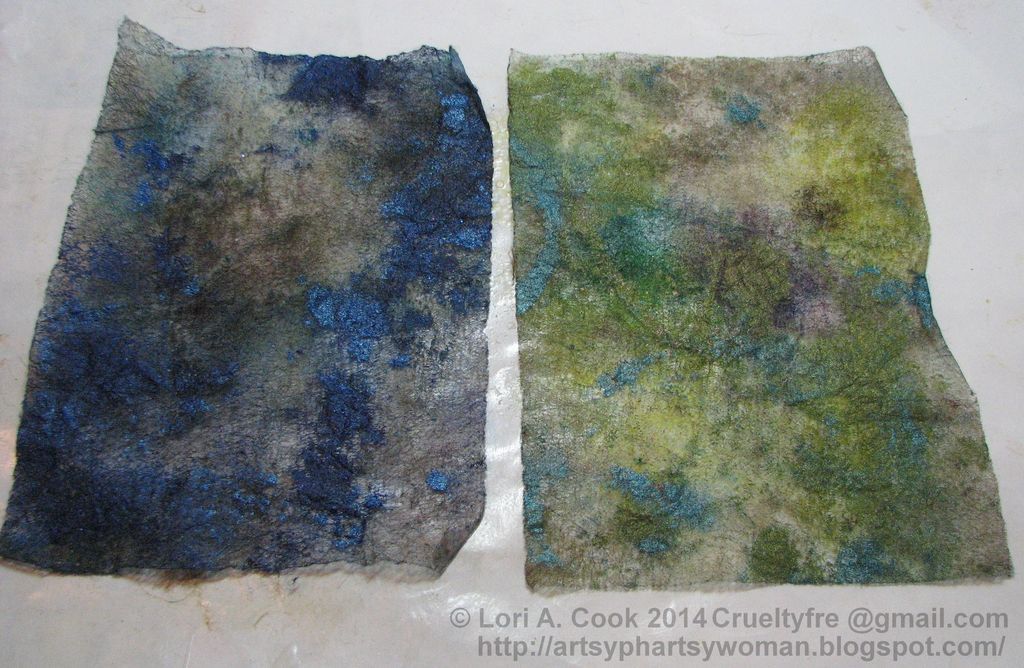 |
| I decided to use these two painted dryer sheets. These were painted with a combination of dye/ink and metallic paints with some areas left unpainted. |
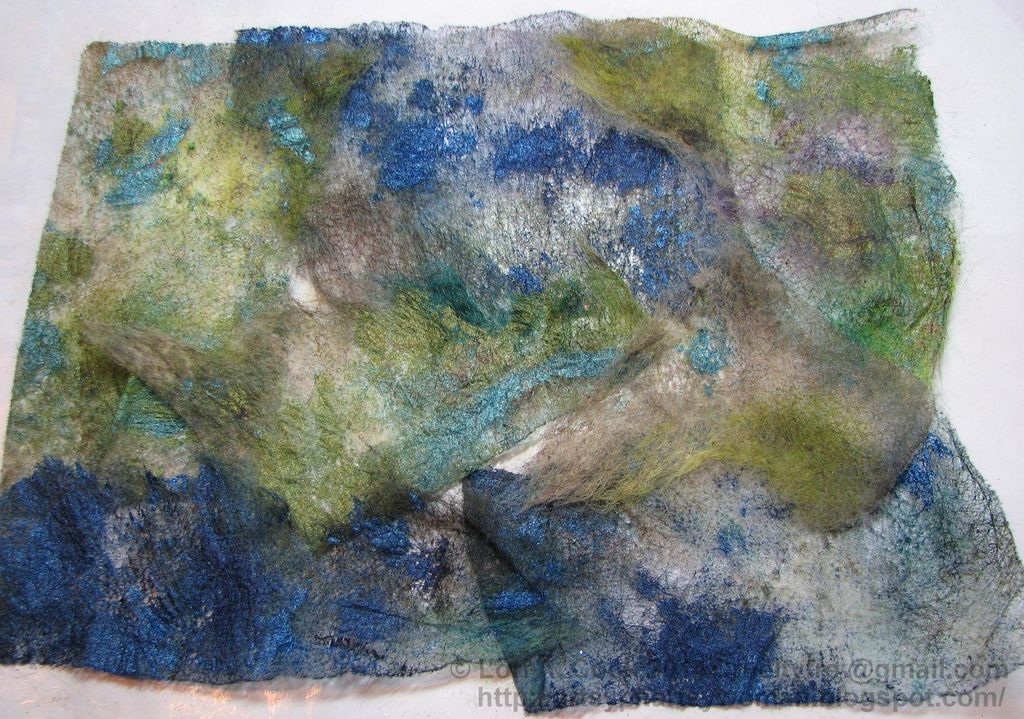 |
| I then ripped the two dryer sheets into pieces and laid them out on freezer paper the way I wanted them. |
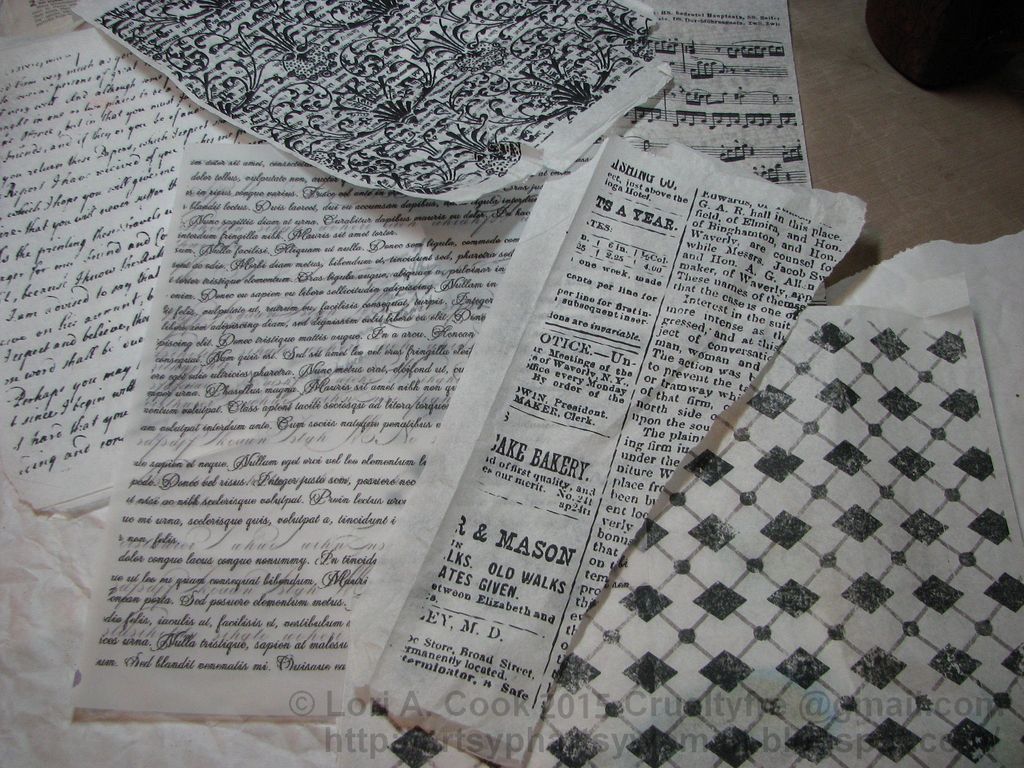
4. Add anything else you want like paper or fabrics that you want to be Mod Podge'd into the collage. I've got some interesting fabrics that aren't at all like fabric, more like netting, that I use a lot. I also like using painted drywall tape, lace pieces that I've painted, papers and such.
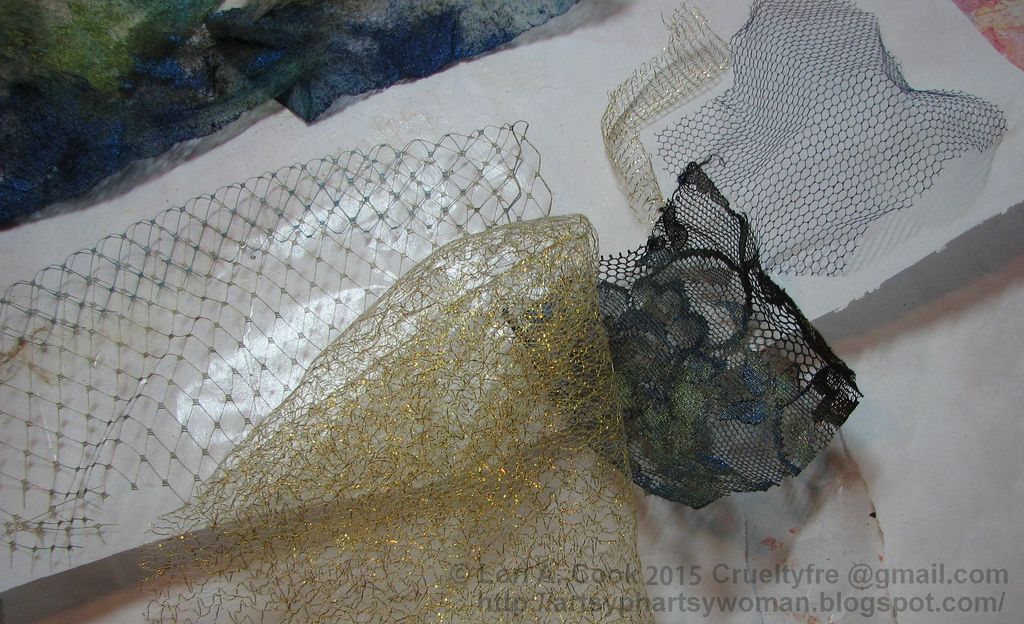 |
| Here's some lace and specialty fabric pieces I've pulled out to use in this collage. I don't know what these fabrics are really called. I went up and down the fabric aisles at Joann's and found them, then used a discount coupon to buy 1/4 yard...which will last me ages as I only use small pieces here and there in these collages. The netting type fabrics were blue...so I spray painted them other colors. |
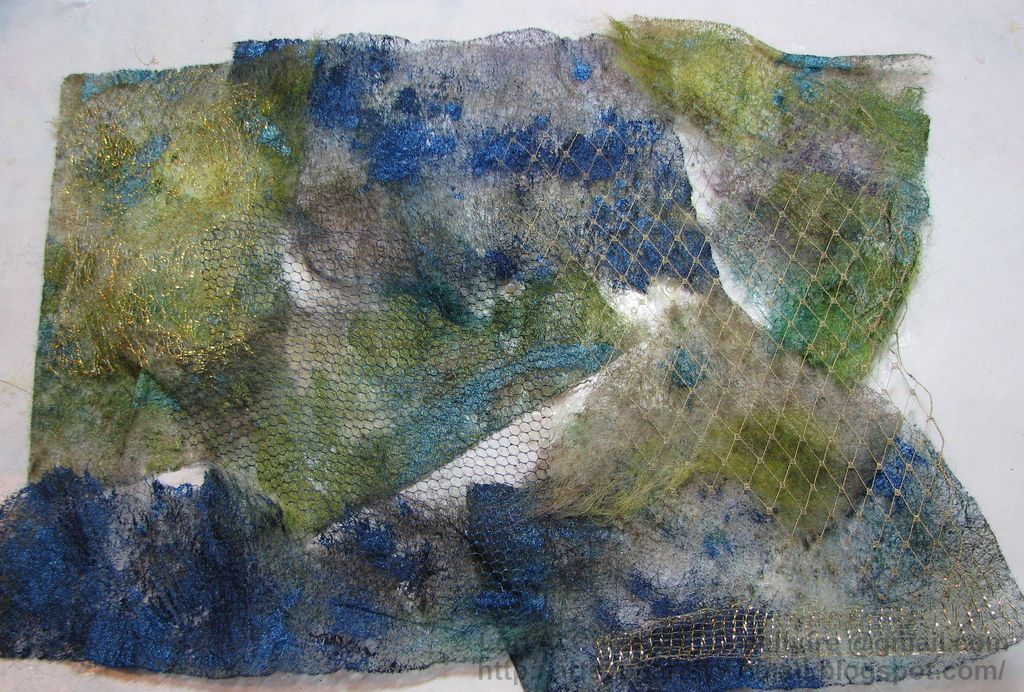 |
| Now I've laid out the fabric and netting on the torn dryer sheets about where I'd like them. |
5.Then paint the pieces down with Mod Podge just was you would if they were pieces of paper. (I'm going through some Mod Podge nowadays so I always buy it when the 50% off coupons from JoAnns and Michaels comes out.)
 |
| Start painting (or pouring) on the Mod Podge. When you first start you have to sorta hold the pieces down with one hand until they're saturated and heavy enough to stay where you want them. |
6. Allow the whole thing to dry on the freezer paper.
7. When it's dry, peel it off. It will come up very easy. The back, the side that was on the freezer paper, will have a sheen to it that the top does not. I assume that is from the freezer paper. I only use matte Mod Podge so I don't know what would happen if you used gloss finish. The finished collage is very flexible, it can be rolled up with no problem.
You'll also notice that any Mod Podge that was on the freezer paper but not on the collage, will dry and be attached, like clear plastic edge pieces. They come off easy so don't worry. When I first saw how dried Mod Podge does this, it gave me the idea to use open spaces in my collages and it works great! This is why I can use netting and such with "holes" in it and still have the collage stay together...this layer of dried, clear, Mod Podge holds it all together and allows you the empty spaces but still gives the dryer sheet enough strength to withstand all the needle holes and thread.
 |
| The dried collage is strong enough to take the needle, thread and beads without tearing, while still thin enough that you can get the needle, thread and beads through it. And very flexible! See the dried, clear, Mod Podge along the side? Just pull that off. |
 |
 |
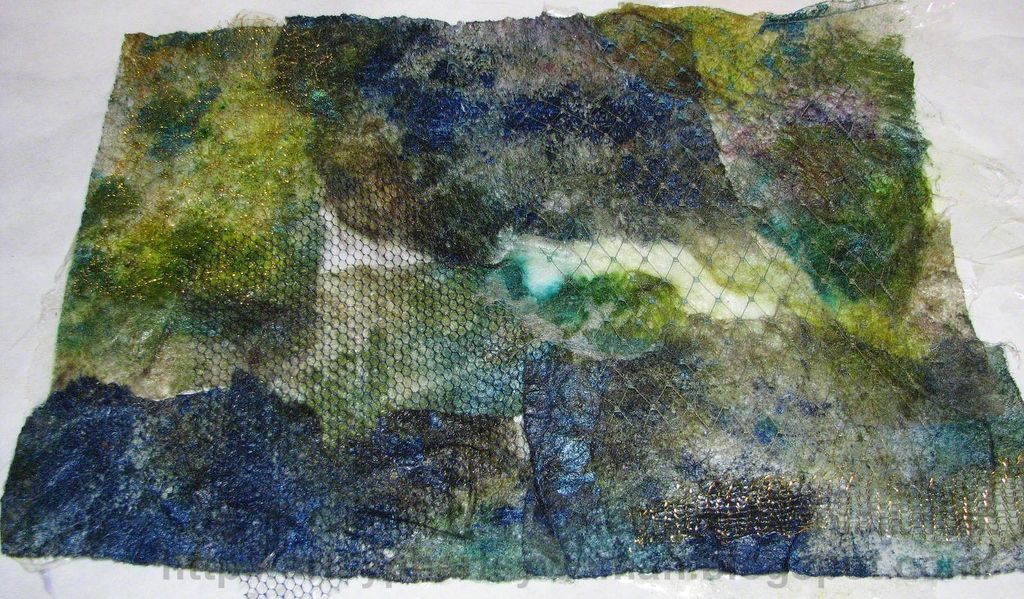
| Closeup of the finished dryer sheet collage with some netting on it. |
Here's one that I've started to embellish with beads....
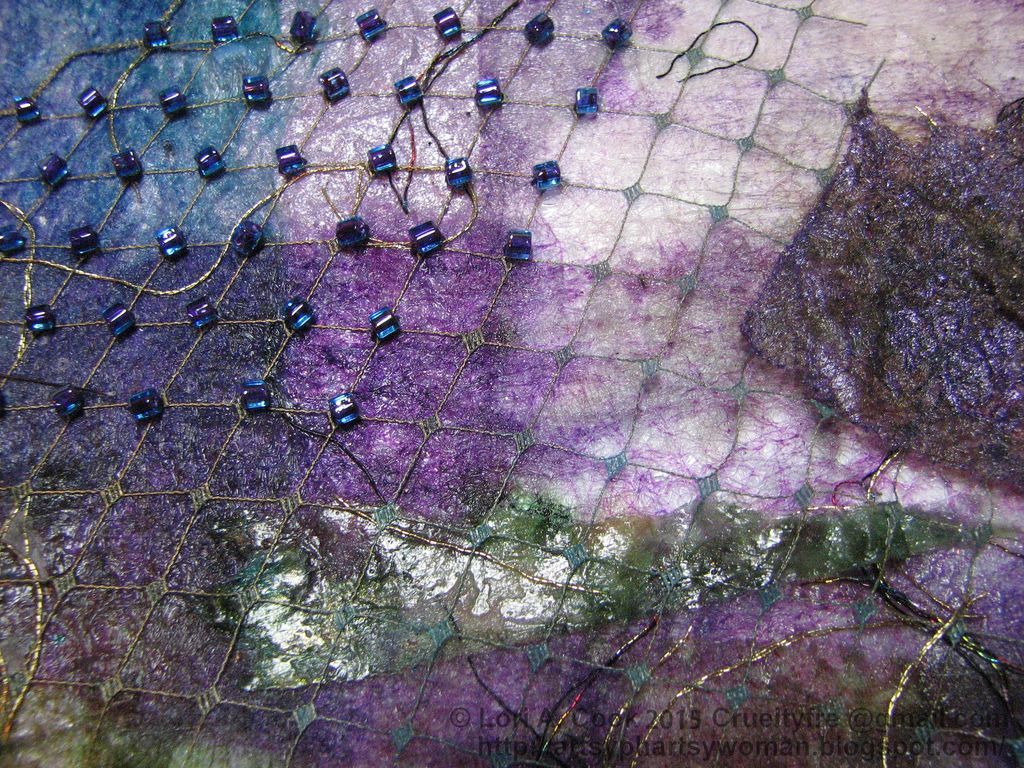 |
| I had this netting which was blue. I took a can of gold spray paint and sprayed it lightly. I Mod Podge'd it to the dryer sheets. When it was dry, I started to put beads at the diamond centers of the netting. It takes the thread, needle holes and beads beautifully. |
This dryer sheet collage I added paper, specialty fabrics, and drywall tape during the ModPodge stage. I intend to go in and bead and embroider it in some places....
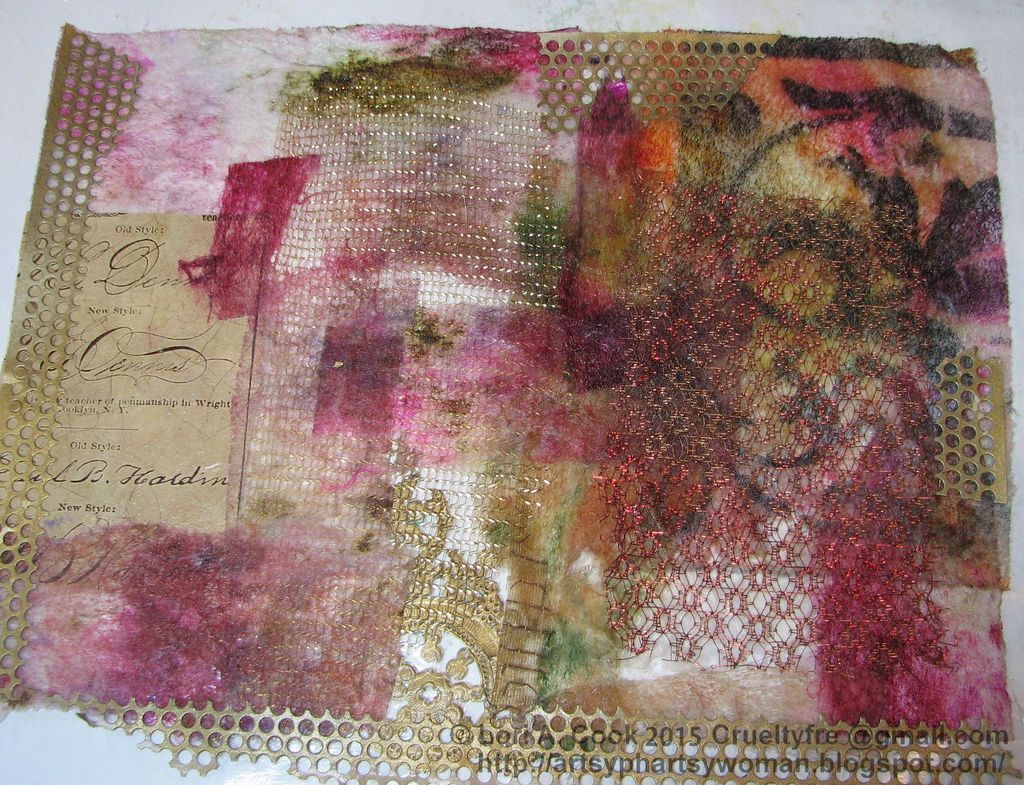 |
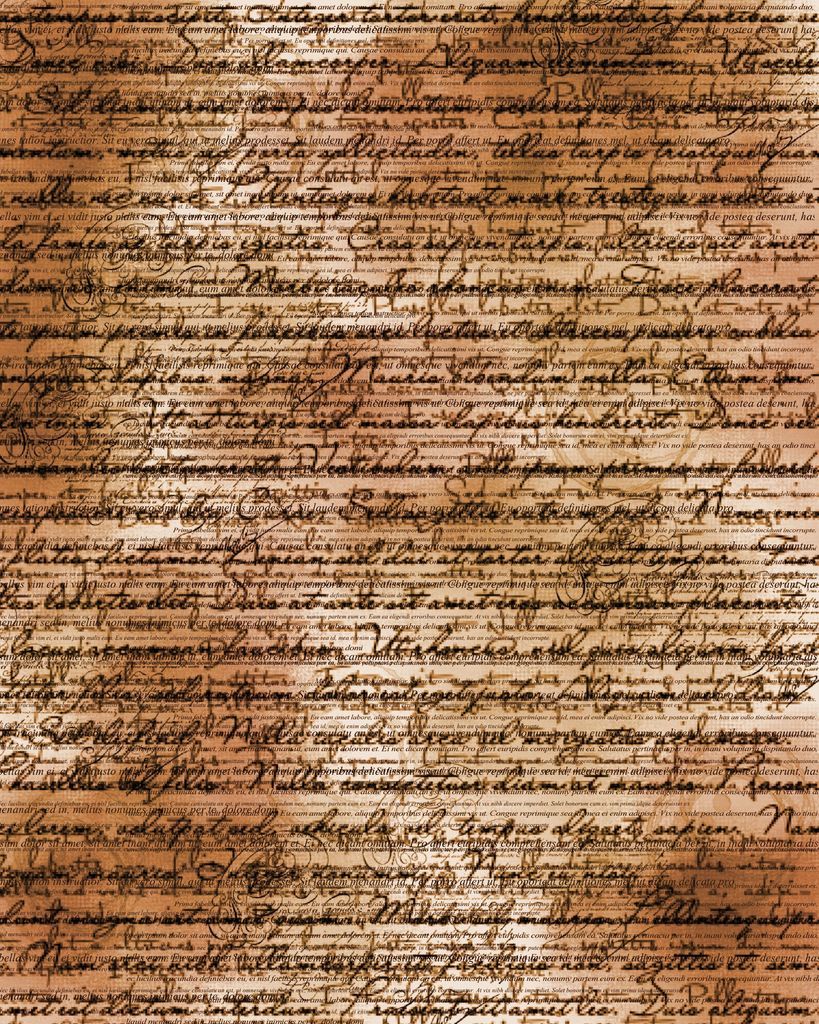
| The design in the top right corner is on a dryer sheet. I laid down a stencil and sprayed ink/dye through it. The dryer sheet took the design beautifully. |
See the open spaces in that collage? There's no dryer sheet or paper or anything in those spaces, just dried Mod Podge.
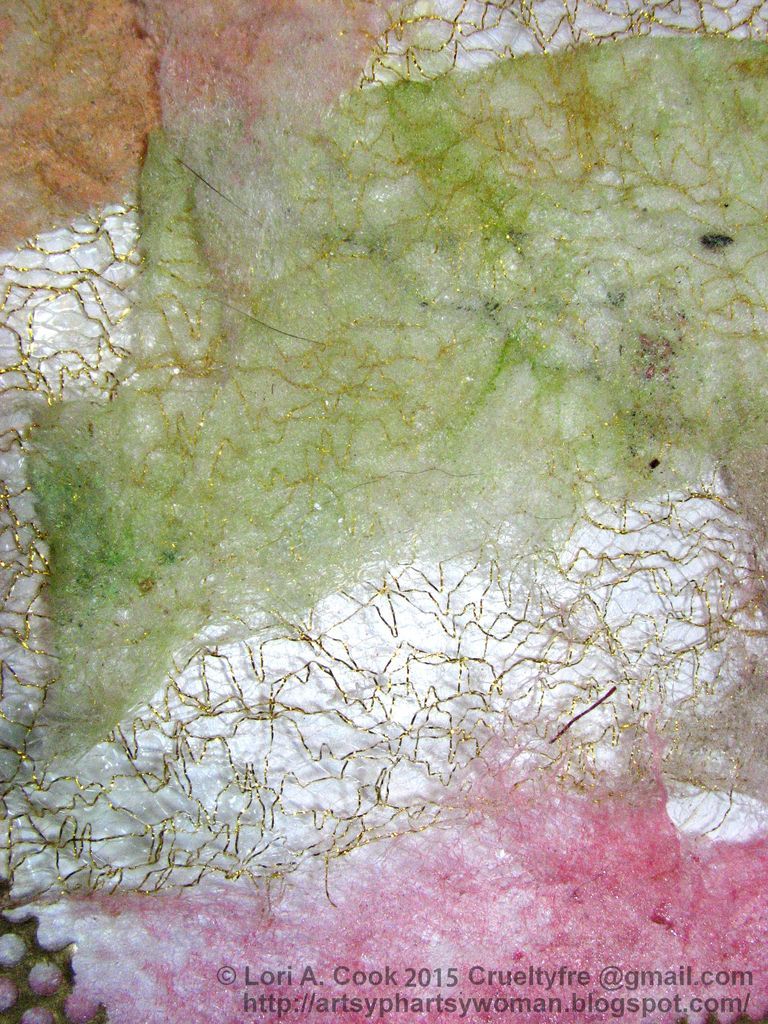 |
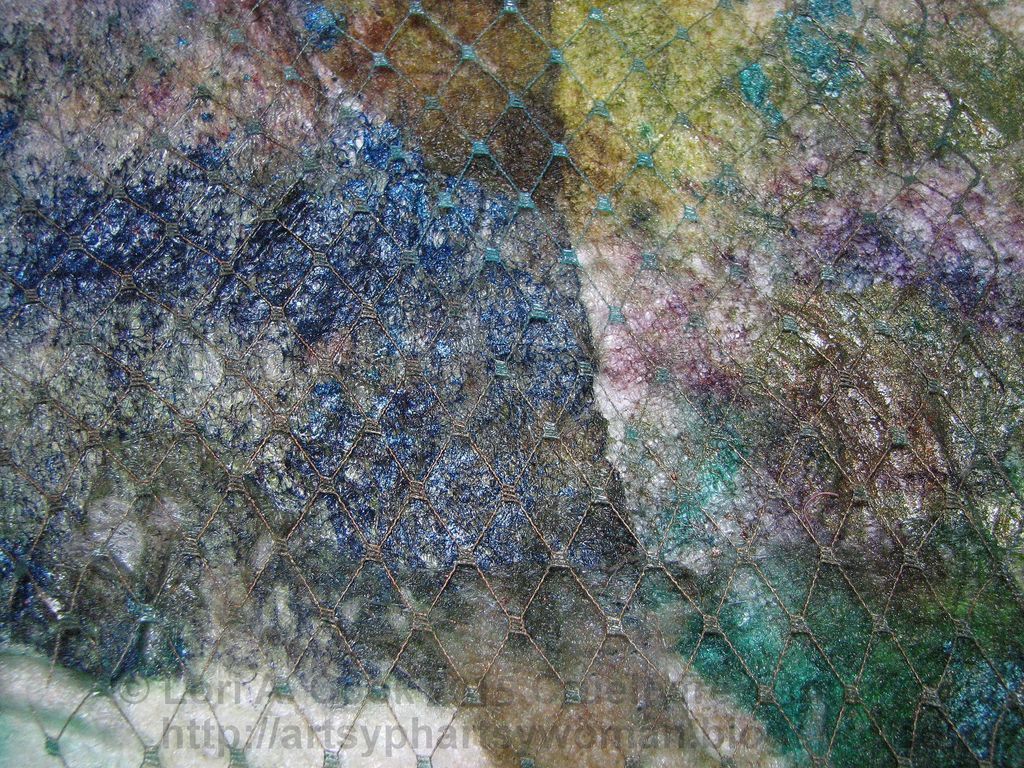
| Here's a closeup of some open areas in another dryer sheet collage. It is still strong enough to hold up to lots of beading and embroidering and gluing and attaching of focal points and such. |
I've also torn uncolored dryer sheets up into pieces and glued them down on paper for use as a background in mixed media pieces. I've tried coloring them first, as well as coloring them after they were glued down with spray dyes/inks. It's an interesting effect, sorta looks like mulberry paper with a fabric feel. The paper backing makes it too thick to use a needle and thread on, but it works for other types of mixed media projects.
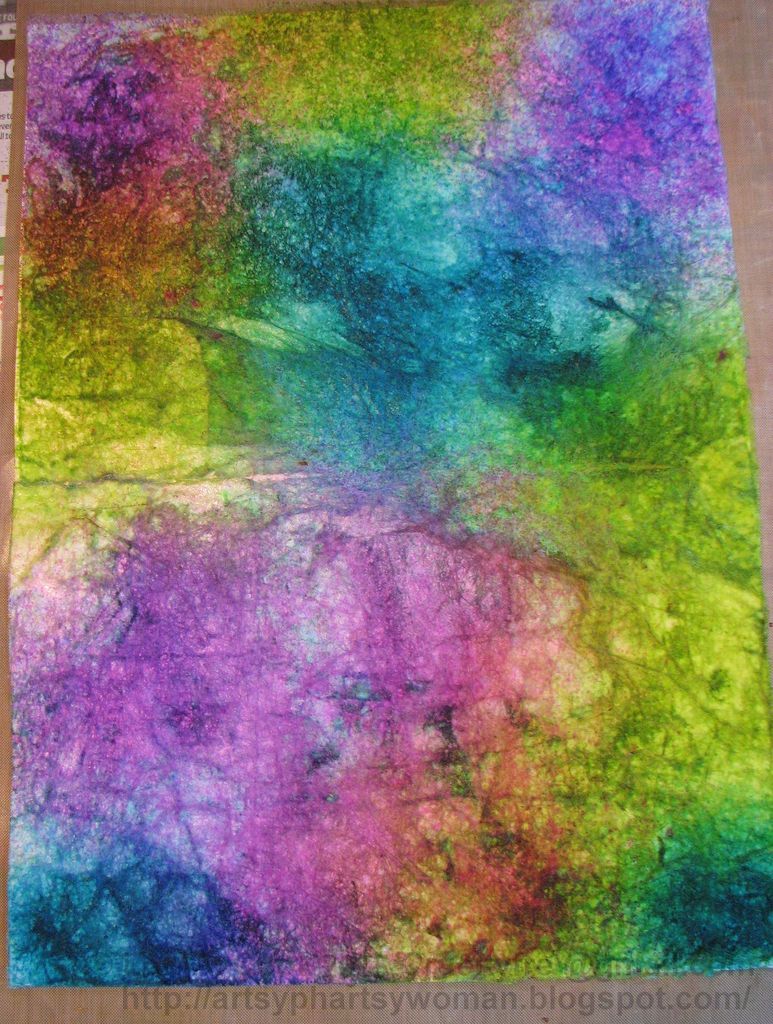 |
| Torn pieces of dryer sheets glued to paper. |
I tried this technique with a bunch of dried up baby wipes. They took the ink/dye's wonderfully, looking almost like tie-dyed, but after collaging them together with the Mod Podge, I found them heavy looking compared to the dryer sheets. Not sure what to do with them now. Anyone have any ideas?
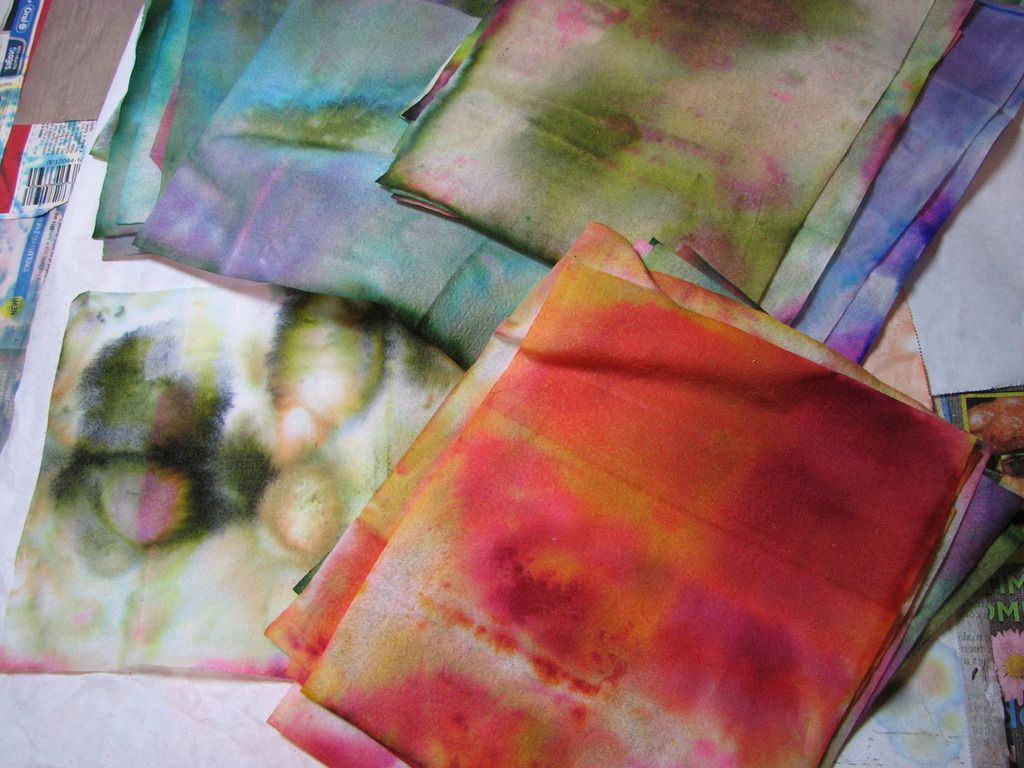 |
| Old dried up baby wipes sprayed with inks and dyes. Too thick for my purposes but might find a use for them someday. |
I love making dryer sheet collages. Hope you enjoyed this post, have fun!


